To insert appointments from the Quick Appointment mode, i.e. insert it from the administrator widget view, click on the “+” icon inside a circle in the upper right corner of the calendar screen. You will be directed to another screen where you will start the appointment insertion process.

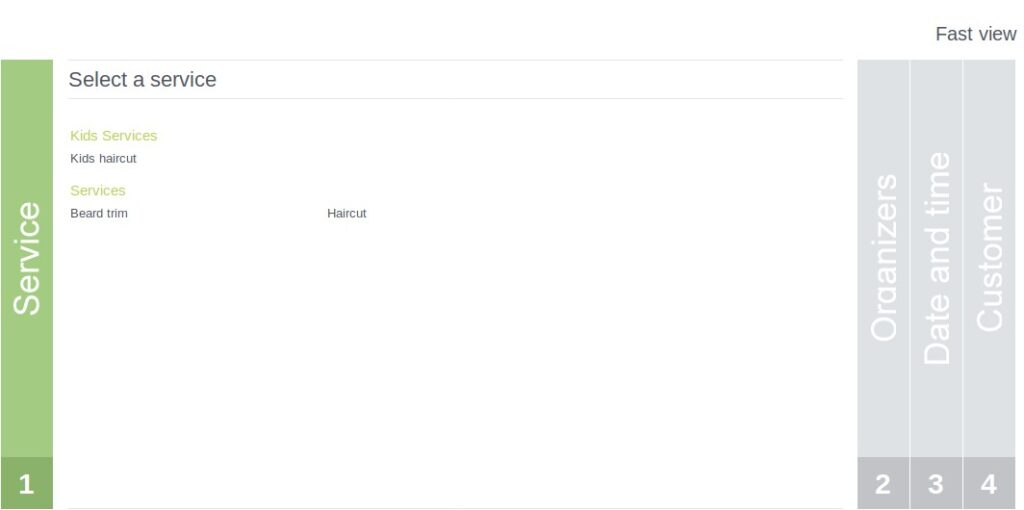
First, you must choose the service the customer wants.
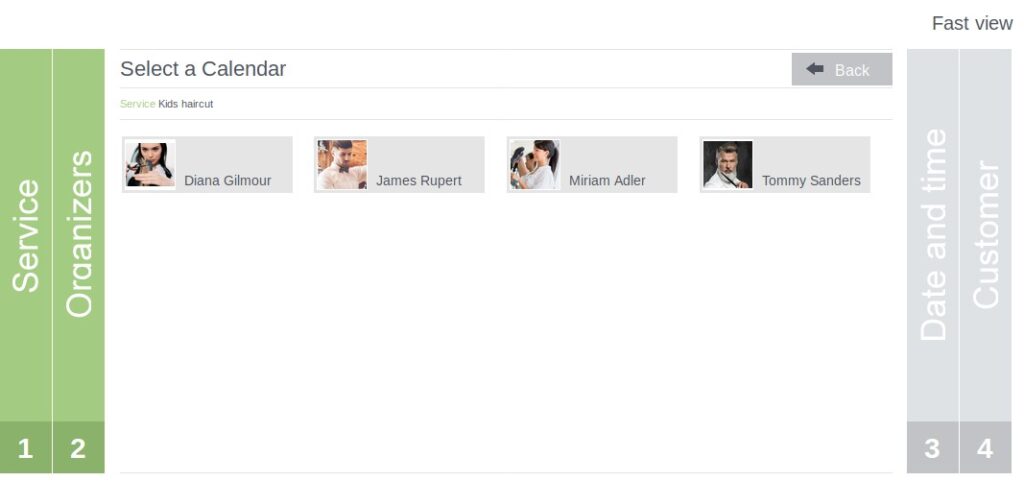
Once selected, you will choose the agenda you prefer, in case the service is offered by two or more agendas. In case the service is offered by only one agenda, you will select the only agenda that will be shown.
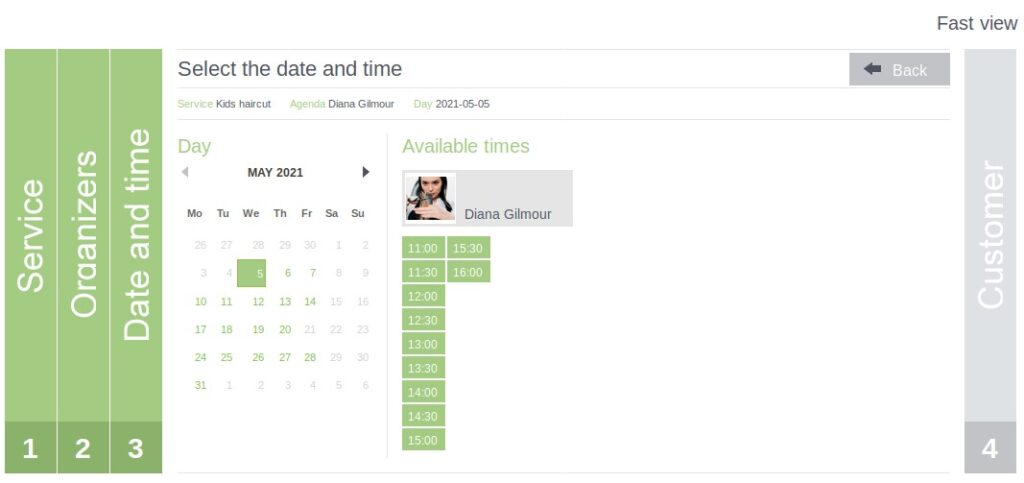
You will then be able to choose between the days and times available in the agenda. THESE HOURS ARE ONLY THE ACTUAL AVAILABILITY OF THAT AGENDA. Therefore, it is impossible to assign more than one appointment to a schedule unless it is configured in shifts. It is also not possible to assign an appointment out of schedule.
Once they are selected, you will enter the customer’s data. If the customer is on your customer list, you can search for him/her by name, email or phone number. If it is a new customer, click on the + icon and enter the required data below.
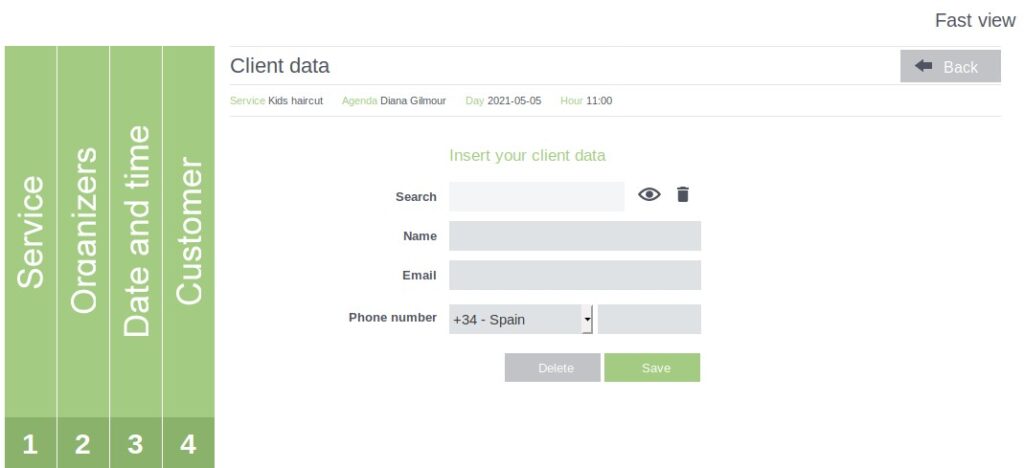
When you have finished entering all the necessary data, click “Save” and check that the new appointment has been added to the Bookitit Booking Calendar.
 Getting Started
 Schedule configuration
 Services Configuration
 Agendas Configuration
 Online Booking
 Manage the calendar
 Email and SMS notifications
 Holidays and blocking
 Customize sing and notifications
 Packages management
 Customers list
 Billing
 Payment gateway
 Synchronize with other calendars
 Appointment in advance and cancellation
 Confirmation of appointments
 Reports and statistics
 Worker access permits
 Validate online appointments
 Online reservations for members only
 My account information
 We use our own and third-party cookies to improve our services and display advertising according to your preferences. We'll only use cookies if you accept them clicking on Accept. You can manage your cookie preferences individually from