From the Bookitit Booking Calendar you can manage all the appointments of your center. In this way, it is possible to insert, edit or delete appointments.
In case you want to insert an appointment, click on the day and time you want to enter the appointment in the calendar. You will see a window in which you will have to enter all the data for the new appointment. To start, on the left, you will have to select the service and the calendar.
Below, you will specify the date and time of the appointment and, if you wish to modify the duration of the appointment, you can enter it manually in minutes. You will then notice that the price of the chosen service will automatically appear with your selection, as will the prepaid option.
If you wish to enter a comment, you can write it in the box below. Next, you will need to enter the customer’s data. If the customer is already included in your customer list, you can search for him/her by name, e-mail and telephone number. Type the first three characters and click on the magnifying glass.
If the client is not listed, select “Add client” and enter their name, email and cell phone number. Finally, if the client has a session voucher, enter the voucher code so that the sessions can be discounted.
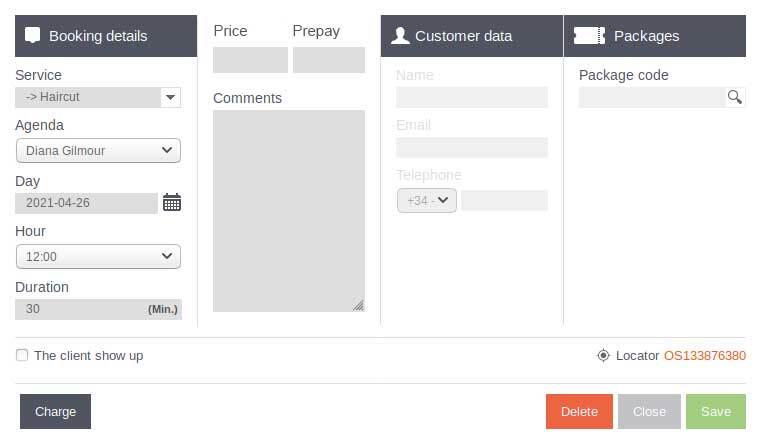
To edit an appointment, click on the appointment created in the calendar and you will see a window with all the appointment data. Edit the information you think is necessary and click on “Save” before closing.
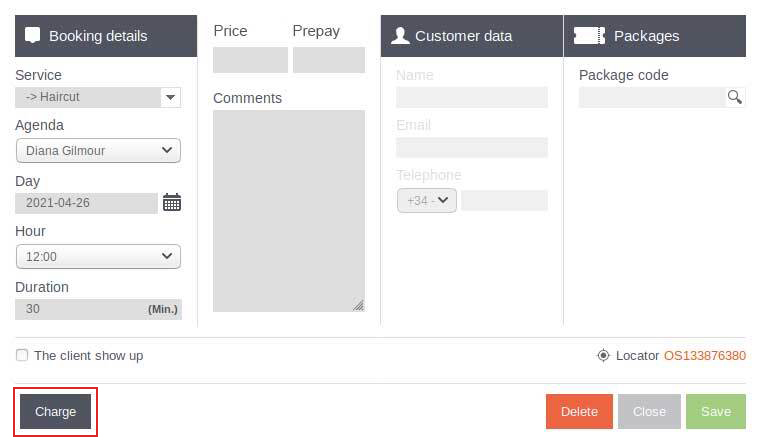
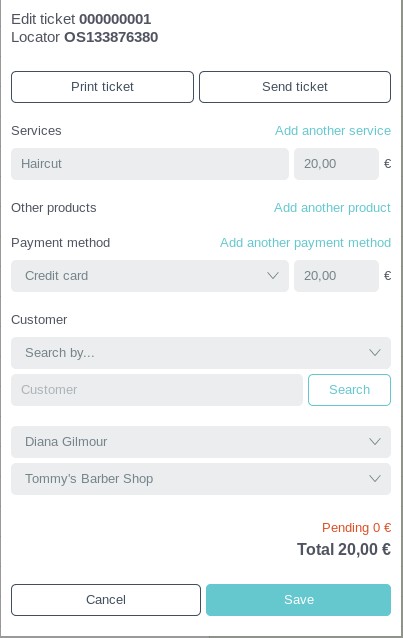
Within this same window you also have the option to charge for the appointment. If you click on the “Charge” button, you will see a new window in which the service requested in the booking will appear, along with its price.
You can add other services or extra charges. Next, you must choose the payment method and the amount to be paid with the chosen payment method. Next, the name of the customer who made the booking will appear, but if you wish to modify it, click on the “Modify” button and search for the customer by name, email or cell phone.
Once you have finished with the client’s data, select the agenda that has attended the client and the person who is collecting the payment. At the bottom of the screen you will see the total amount to be paid and the outstanding amount. If you want to print the ticket or send it by e-mail, select it at the top of the window. If the collection has been completed, click on the “Collect” button.
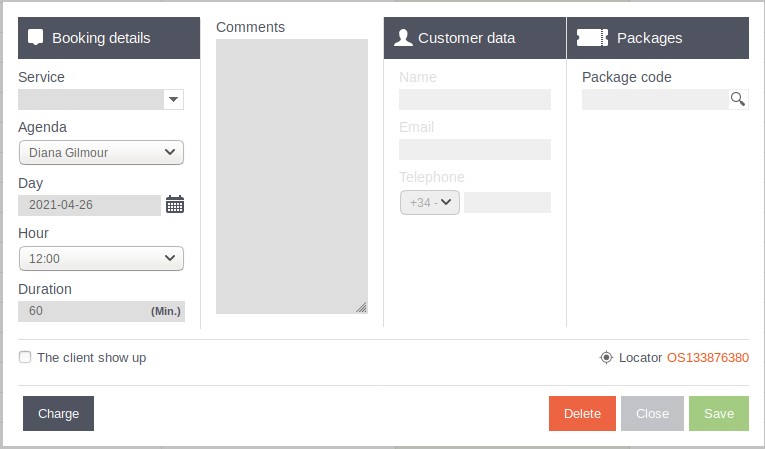
Finally, if you want to delete an appointment, click on it and you will see a window. At the bottom right, click on the “Delete” button. Check in the calendar that the appointment has been deleted.
 Getting Started
 Schedule configuration
 Services Configuration
 Agendas Configuration
 Online Booking
 Manage the calendar
 Email and SMS notifications
 Holidays and blocking
 Customize sing and notifications
 Packages management
 Customers list
 Billing
 Payment gateway
 Synchronize with other calendars
 Appointment in advance and cancellation
 Confirmation of appointments
 Reports and statistics
 Worker access permits
 Validate online appointments
 Online reservations for members only
 My account information