Bookitit’s Booking Calendar is the place where all appointments with your clients will be recorded, both those you receive online and those you enter manually.
When a client makes an online booking with any of your services, it will appear in real time on your calendar on the day and time of the appointment. If you click on it you will be able to see more specific information regarding the appointment. That is, you will see the service requested by the client, the agenda, the price, if a prepayment has been made, client data, comments and if a voucher code has been used.
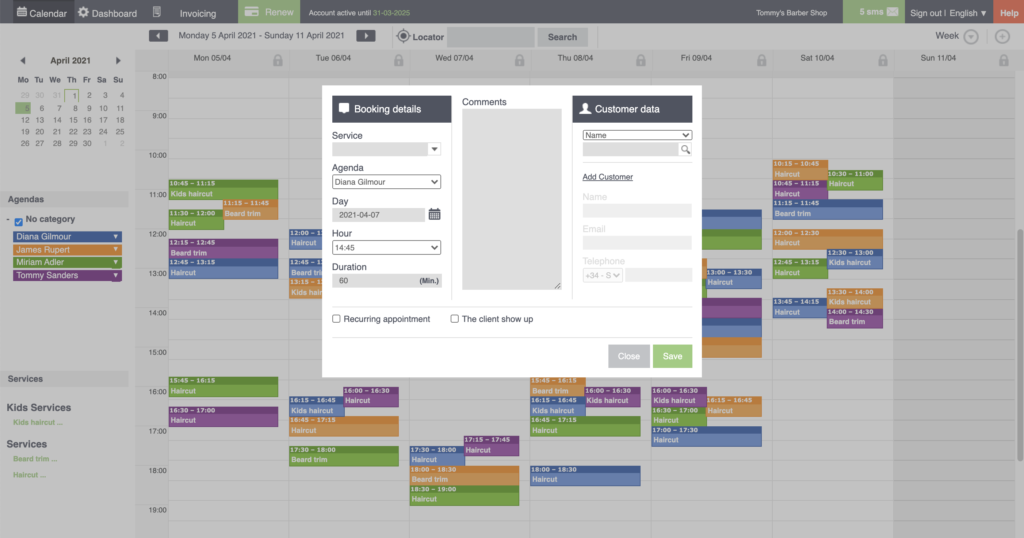
On the other hand, you can also enter appointments manually in your Bookitit Booking Calendar. To do this, you just click on the day and time you want and a new tab will open. In it you will be able to:
- Specify the appointment data: select the service and the agenda the customer wants. In addition, you can select the date and time of the appointment. You can also modify the duration of the appointment. When a service is selected, the price of the service and the prepayment option are automatically updated. However, you can change it. In the box below you have the option to add comments.
- Specify the customer’s data: If it is a customer that is included in your customer list, you can search by name, phone or email. To change the search method, click on the drop-down menu and select the one you want. Then type at least three characters and click on the magnifying glass to start the search. Once it appears, click on it. In the case of a new customer, click on “Add customer” and enter their name, email and phone number.
- If the client has a session voucher, you can enter the voucher code to update its status.
The calendar can be displayed in different ways. To change the way it is displayed, at the top of the page on the right side you will see the icon of an arrow pointing downwards. If you click on it, different options will be displayed:
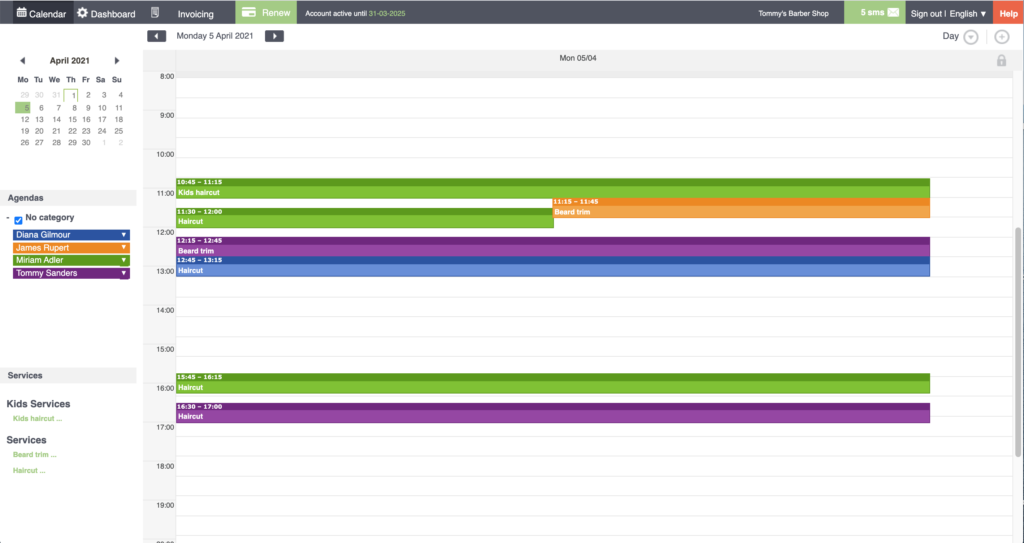
1. Day view: If you select this option, the screen will show you only one day’s schedule with all the appointments it contains. To select the day you wish to view, you will see a small calendar on the upper left side of the screen. The day marked in green will be the one you are viewing. If you prefer to view the appointments of another day, just click on the day you want in the calendar, or click on the forward or backward arrows above the calendar.
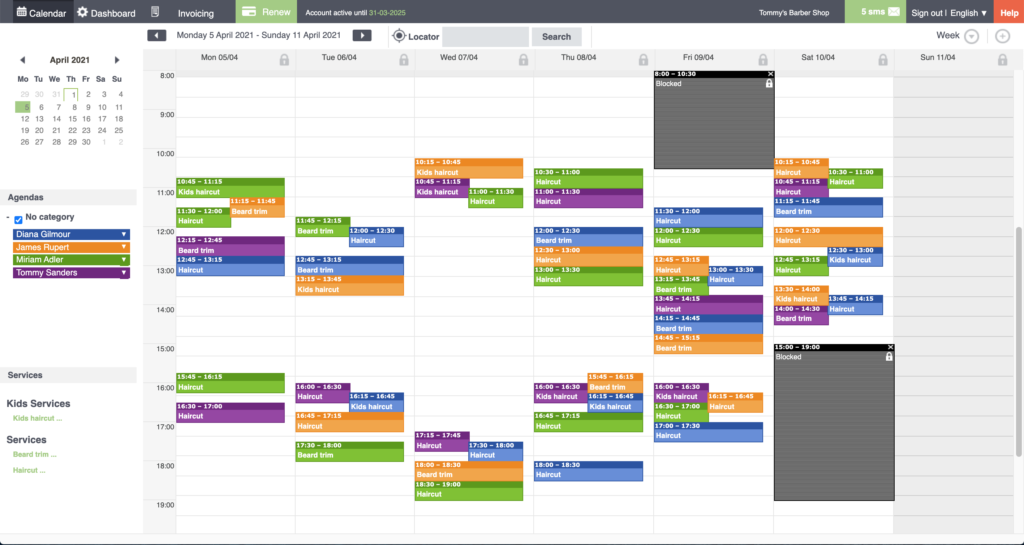
2. Weekly view: Selecting this option, the screen will show you a schedule from Monday to Sunday with all the appointments of the week. To select the week you wish to view, simply select one of the days contained in that week in the small calendar on the upper left side. If you wish to view the appointments of another week, you can also click on the forward or backward arrows above the calendar.
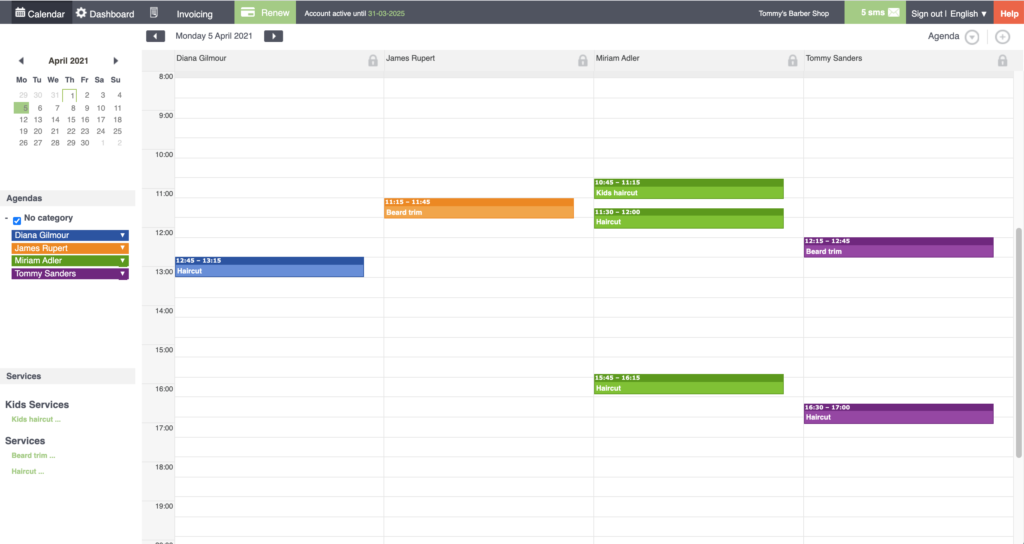
3. Agenda view: The agenda view will show the appointments of each of the agendas per day. Each column is named after an agenda and, throughout it, the appointments that the agenda has for a day are arranged along the column. To view the appointments for another day, select the desired day on the calendar on the left or click on the arrows above the calendar.
4. List view: For this option, the appointments will appear sorted by day in a list. Scrolling down will display the appointments for the following days. To view previous appointments, select the desired day in the calendar on the left or click on the arrows above the calendar. In the list view by clicking on the icons on the right you have a complete trace of each appointment: from where it was made, if someone modified it, from which IP it was booked, which agenda created it, etc.
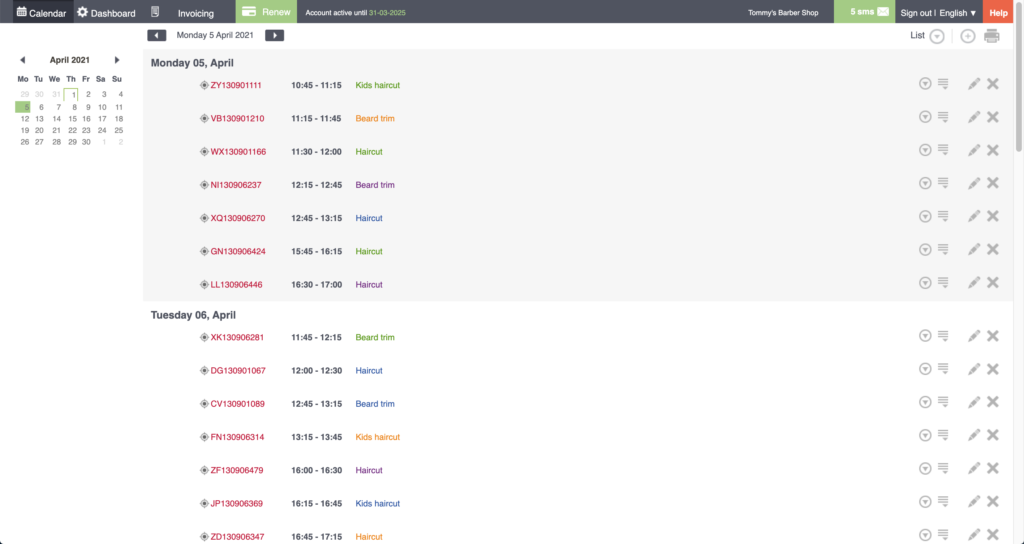
Configure the option that you find most comfortable and that best suits your needs.
5. Quick View: In addition, another view that can be accessed from the Booking Calendar is the Quick View. To access this, you must click on the “+” icon located in the right corner at the top of the page.

Serás dirigido a una nueva página en la que podrás crear una cita como si se tratara del widget. Si quieres saber más acerca de la inserción rápida de citas, accede a este tutorial.
